Planning and executing a woodcut print
I don’t know how many pencils I’ve worn down practicing how to draw feet. It’s a bit ridiculous, really. I find them both challenging and elusive, which is weird because I hate wearing shoes and see my paws all the time. You’d think I would get it.
But I don’t, so here we are. Besides, feet are weird.
Being in therapy for the first time has made me more reflective than usual. I’m seeking stability. I’m also out of my depths in a woodcut class where I’m literally bleeding to express myself. LITERALLY. BLEEDING. EVERYWHERE. So I decided to carve some of my stability into a block of wood. Because that’ll make it stick, right? Plus I’ll use a little B positive as a binding agent. I don’t actually know my blood type but … that suits me.
I perused my backlog of sketchbooks and found a page that felt like a good starting point. It’s a mix of tranquility and grounding, floating and holding. At least that’s what I saw at the time.
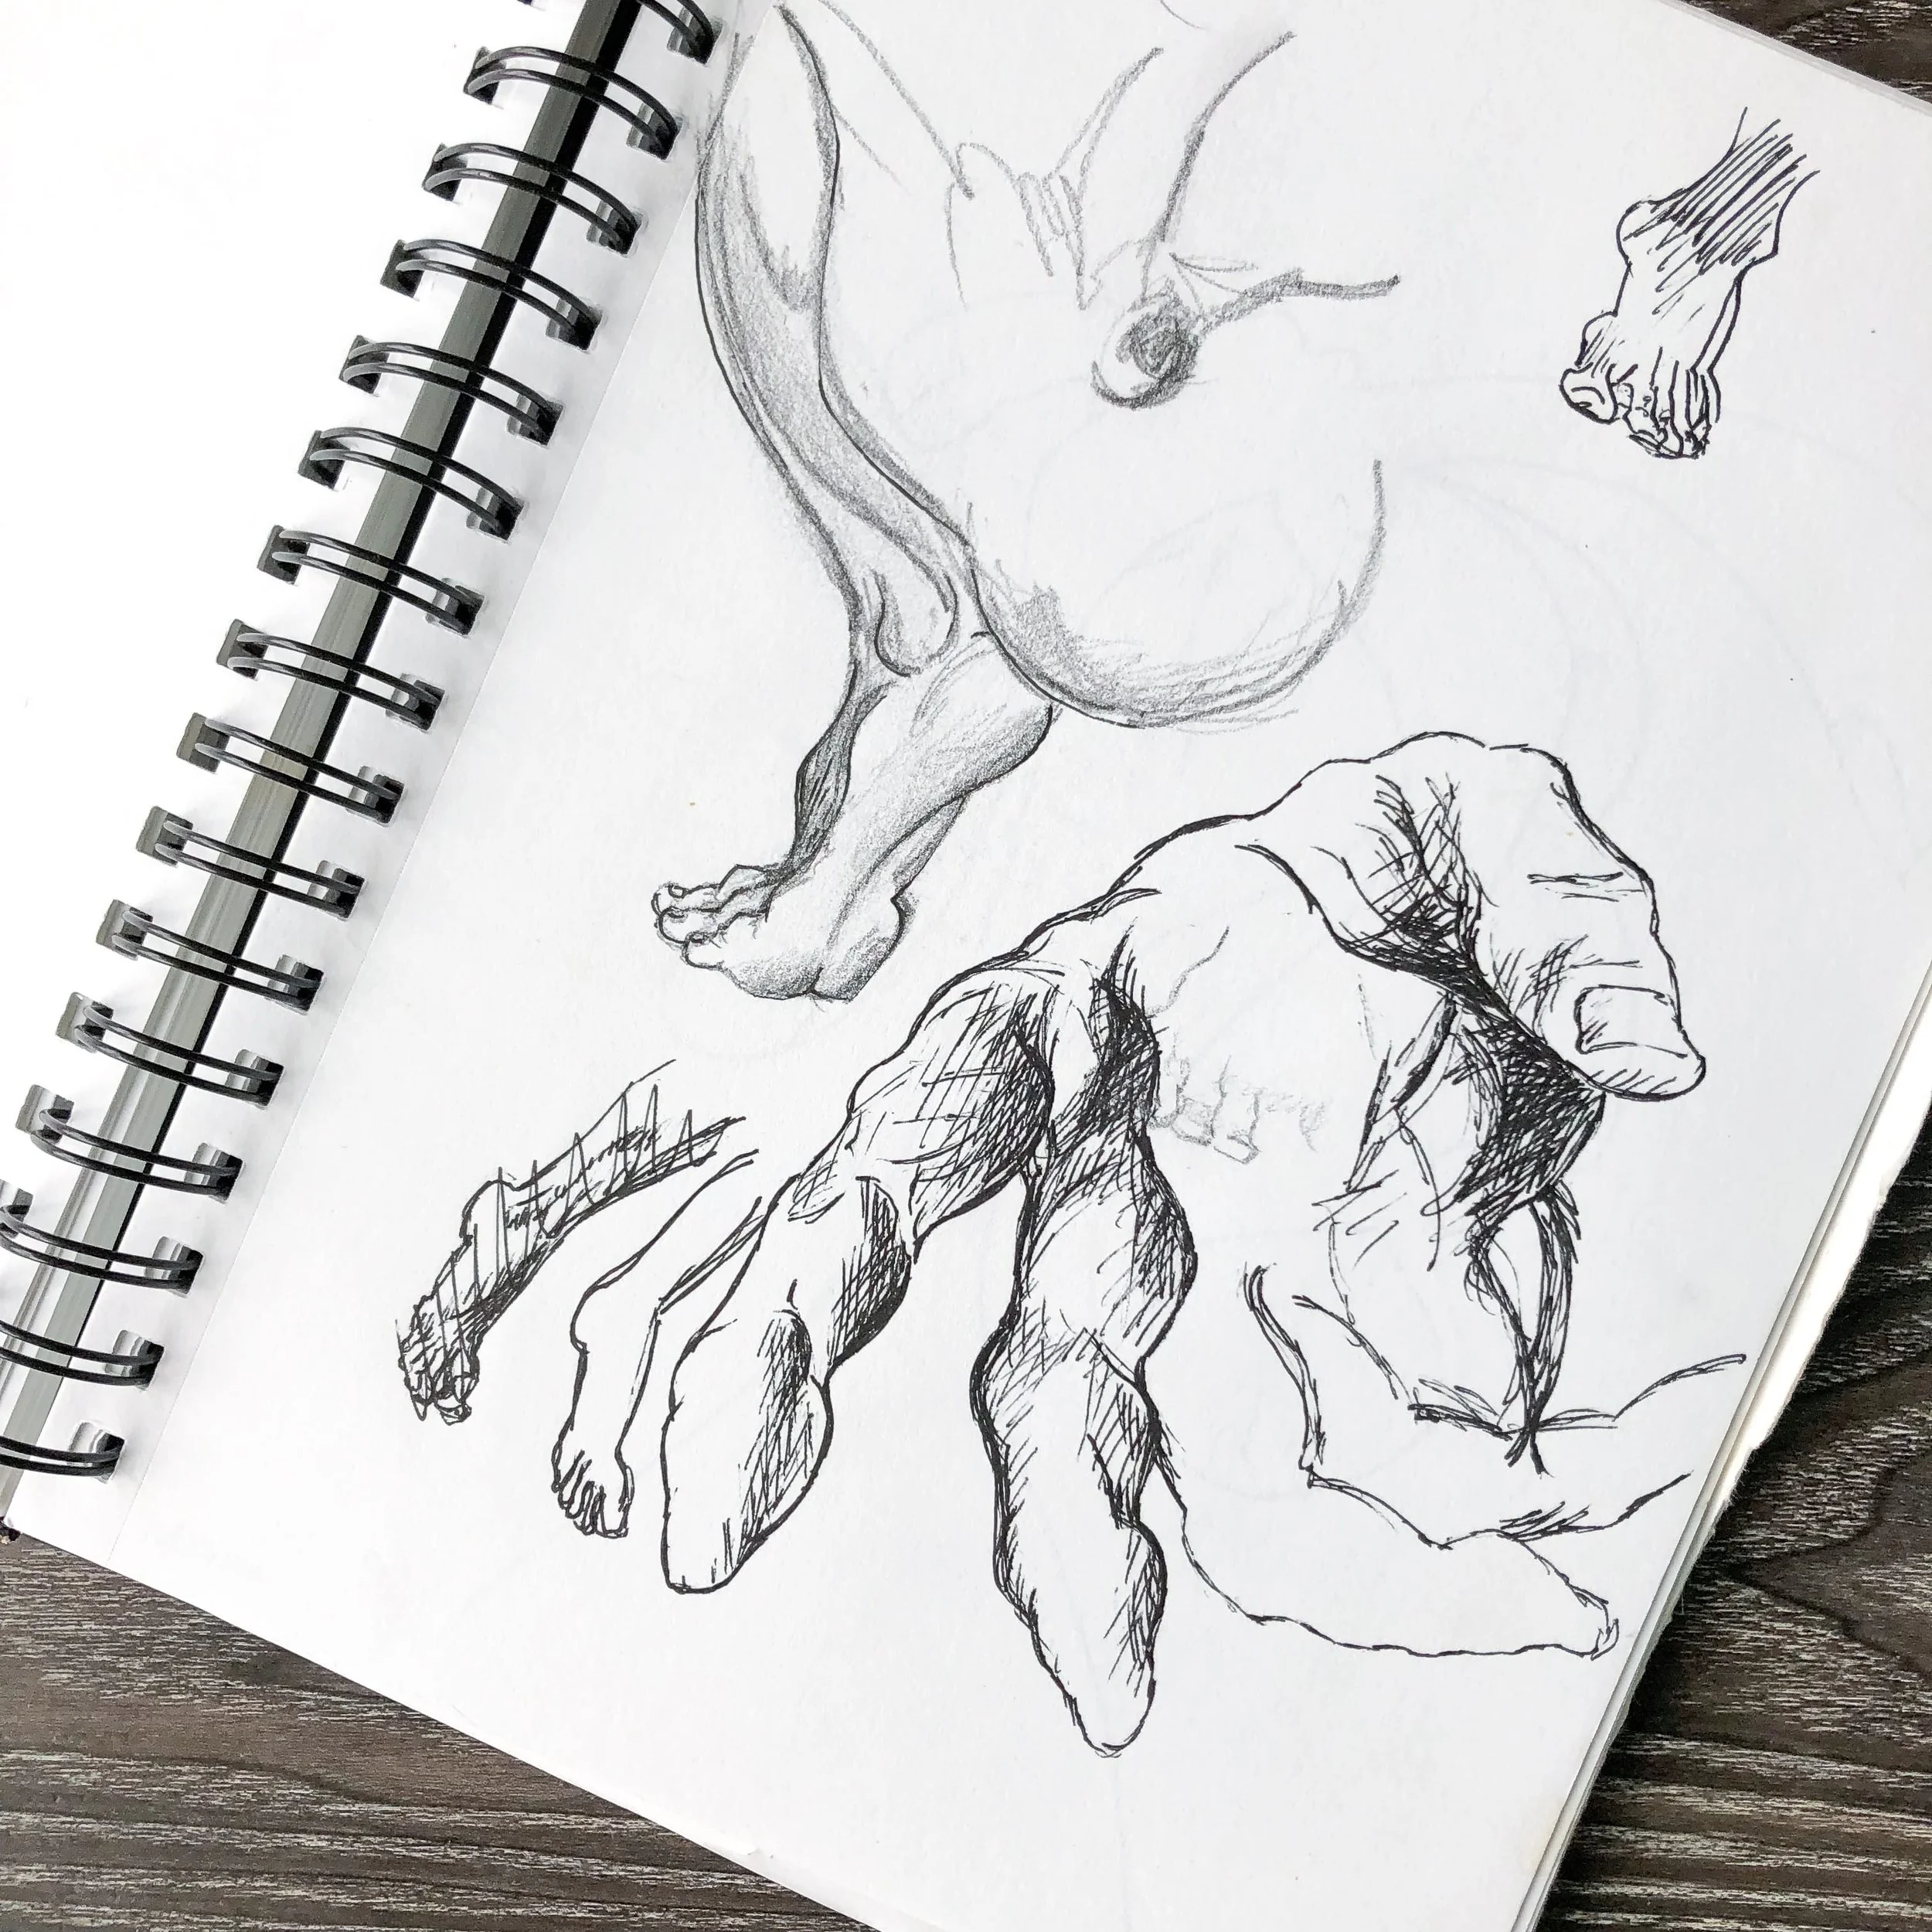
Look at all those chicken scratches. The bottom left is exactly how I feel drawing feet – hella awkward.
From sketchbook to wood block
By my third revision, and the inclusion of a reflection pool, I felt good enough to lay into the carving tools. I’d worked out color through a few phases: 1) go bold, 2) cut it back, 3) end up with the basics. Browns and blues. Anchoring colors.
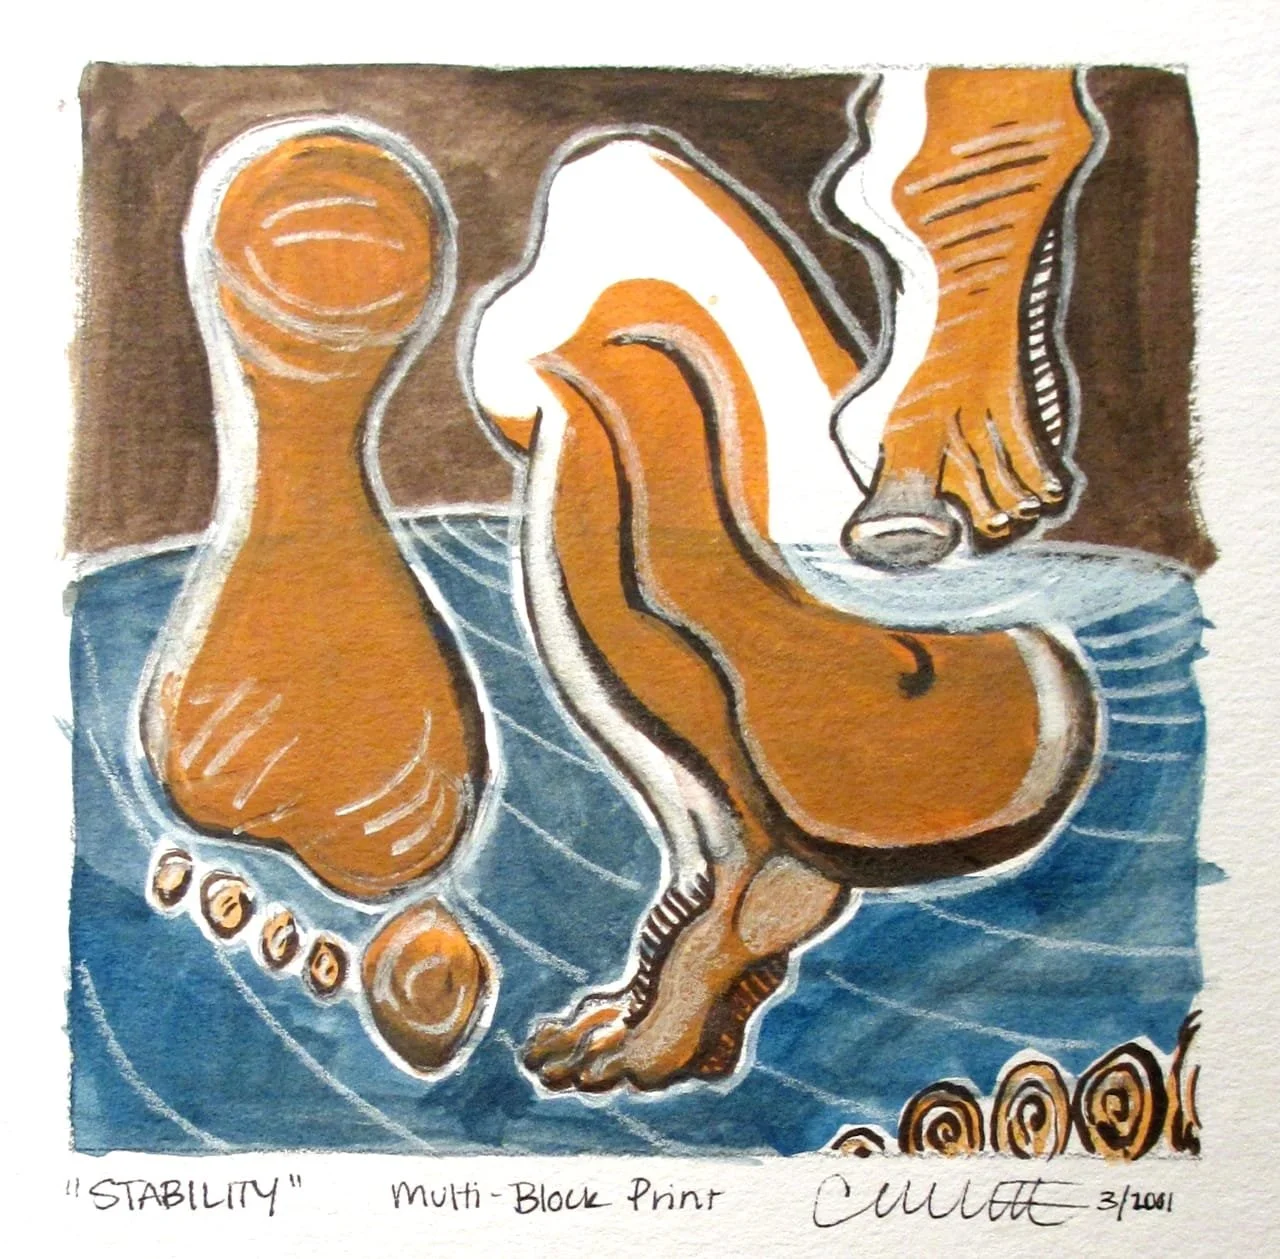
I work out kinks in my sketchbook before attacking the board.
I no longer have a photo of the wood block, regretfully, nor do I have the wood shavings I scattered over the hardwoods of my apartment.
The final print
I cut myself a billion times to get the shaping right. It was satisfying to feel it come into being, stripping away at the wood with my head full of thoughts. My main focus was on getting the lines to feel stylized and intentional.
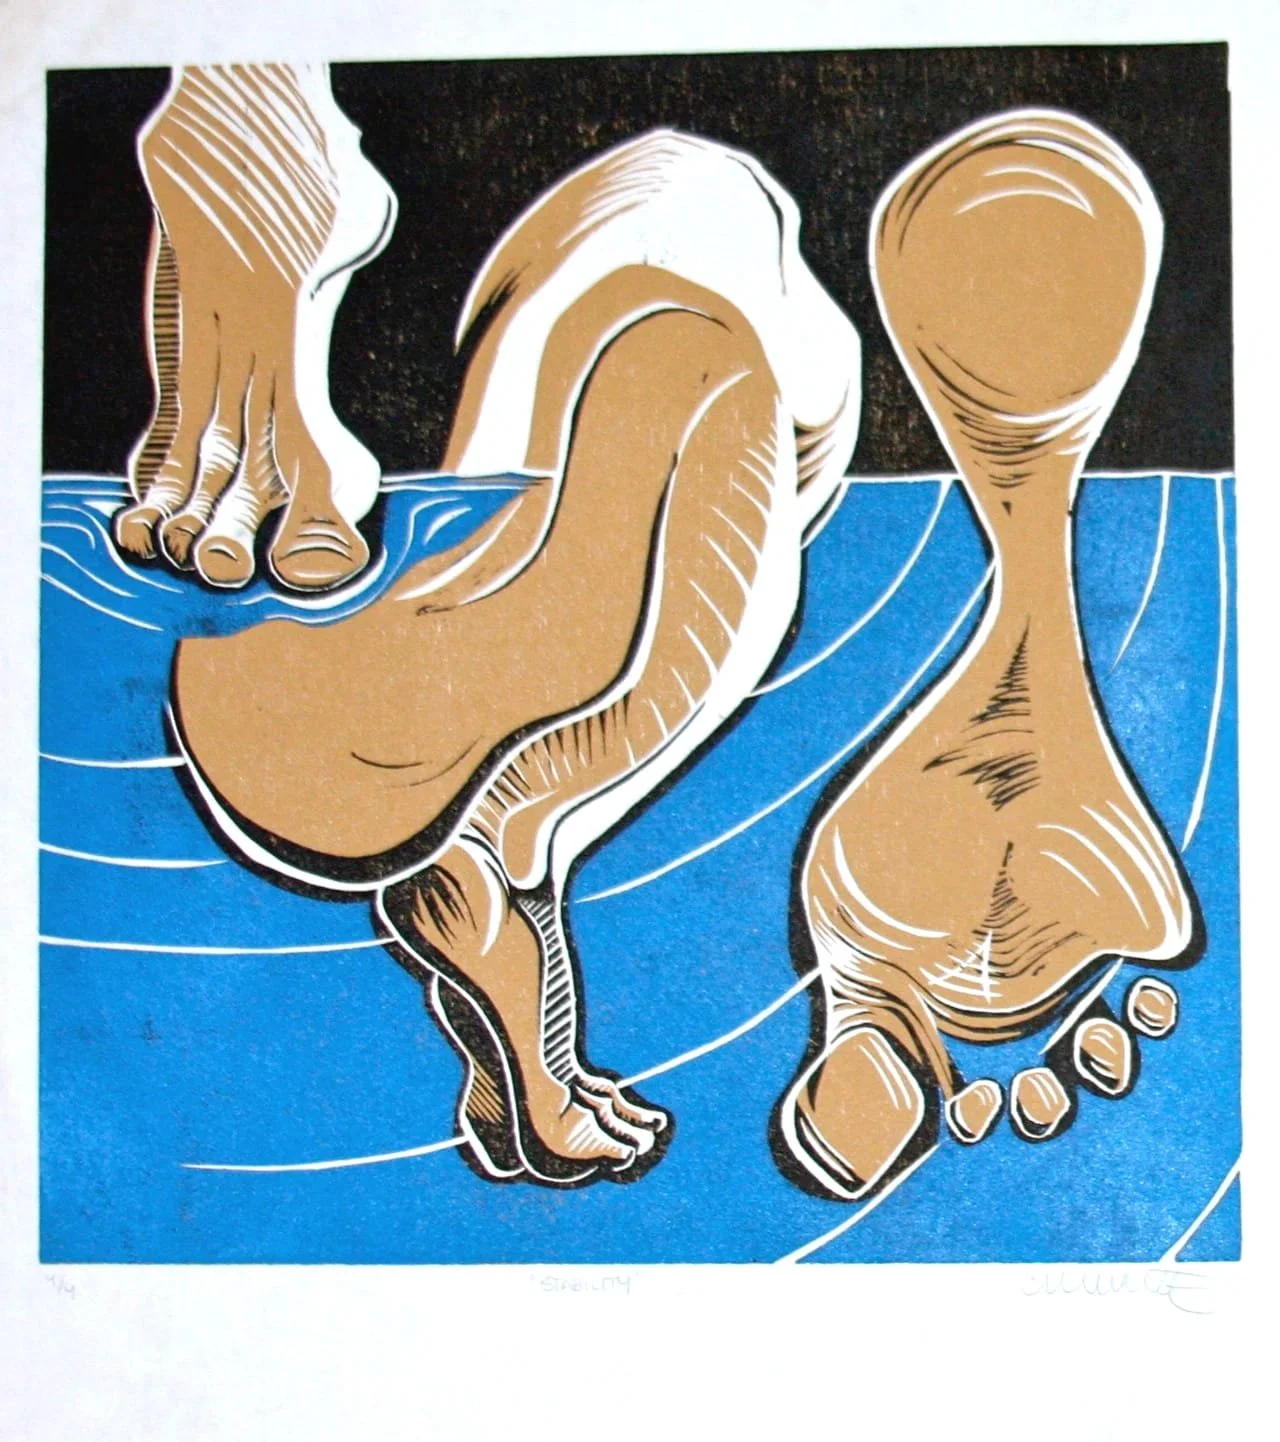
I printed a limited series. The last one turned out best.